
After having the poultry nipples for a few weeks without doing anything, it was time to get started. This is the first time I am trying to do a step by step process so someone else can learn how to do it, so please, bear with me.
First, a few supplies were needed. A piece of 1" schedule 40 PVC pipe, some end connectors, some tubing and an empty bucket. Everything was purchased, except the bucket, which I got from the bakery at the local Kroger bakery. Someone on the chicken forum said about getting buckets at the bakery, so I went and asked. Surprisingly, they went into the back room and came back with three buckets with lids for free. You CAN get something for free these days!
 |
| Chicken Waterer Parts |
 |
| Tools for making the chicken waterer. |
Cordless drill with 11/32" drill bit, PVC pipe cutter, PVC pipe primer and glue, teflon tape, measuring tape, pencil and an open end wrench (can't remember the size, but it fit the poultry nipples).

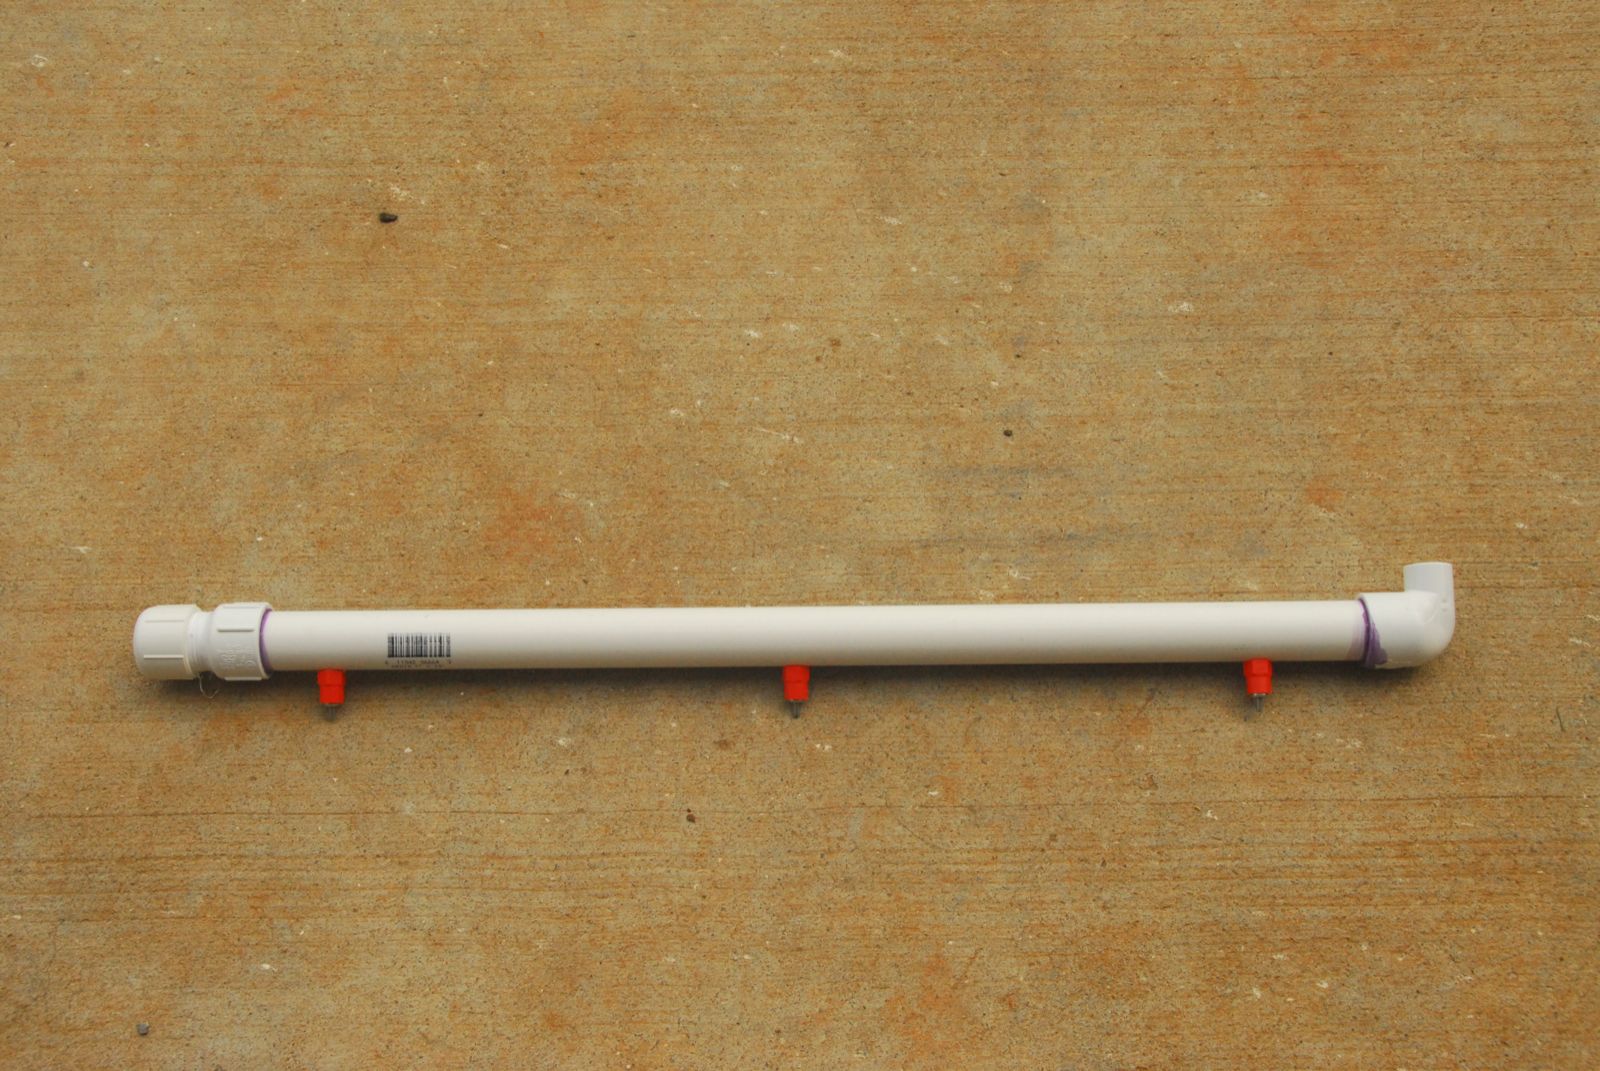
The PVC pipe was cut to the length that was needed for the waterer. I made two watering systems. One has three poultry nipples and one has six poultry nipples. I spaced the poultry nipples 10" apart, which seems to work well. So after marking the 10" point, a 11/32" hole was drilled at each mark.

The poultry nipples were then wrapped with teflon tape, to make sure that they didn't leak once installed. You can never have enough insurance on avoiding leaks. The next step is to screw all the poultry nipples into the holes in the PVC pipe.

Easier said than done. A few went in easily and threaded really nice. The rest were a real struggle to get in. One other thing to note, be sure to try and keep the poultry nipples in a straight line so they are all pointing the same direction. I know this should be assumed, but you never know.
One trick used on the second system I made, was to use a propane torch to help get the poultry nipples threaded. Using a propane torch, I heated up the hole in the PVC pipe to make the pipe soft. Just make sure you don't over heat it and deform the hole. Then I threaded in a poultry nipple without teflon tape, and then removed the nipple after a minute once the PVC pipe cooled. That left nice threads in the hole to put the nipple into once it had the teflon tape.
After putting on the end connectors, the main portion of the watering system is complete. I used more connectors than was necessary on the ends so I could unscrew the end and clean out the waterer if necessary. After having it going for a month or so now, I think that was overkill as it is staying really nice and clean, even in the summer heat.
The bucket had a hole drilled in the bottom and a PVC connector was installed. Then it was about installing the system in the chicken run. I put one inside the run and one on the outside. That would allow both free-ranging birds and birds in the run to both get a drink, not knowing at the time what was going to work.
The poultry nipples were installed approximately 19" off the ground as that is how big my chickens were when I installed it. That allows them to look up and get a drink. Be sure to install it with the hose end slightly higher than the closed end, so the air will flow up and go up into the bucket, allowing all the nipples to drain water.

Now, with this system, I only have to fill the frosting bucket about every two weeks, with my nine birds. When you can eliminate all the wasted water and the dirty water in the other watering dishes, they actually don't drink that much water. It may also be due to the fact that all my chickens and guineas free-range all day and are able to get water from the dew on the ground in the mornings.
 |
| Water drops on the PVC is from rain. |
Whatever the situation, I highly recommend a watering system such as this. It makes it so much easier to water the birds and eliminates a lot of time dealing with the traditional watering trays. It also has to be better for the birds since it is always clean water they are drinking.

Hopefully these instructions were clear enough to give you the basics of how to make a similar system. If you have any questions or feedback on a system that you have made, be sure to let me know.
Hey..Thats great idea..Thank you for the tip..I would like to try for it..
ReplyDeleteDiamond Drill Bits
Do you have any issues with algae building up in the PVC? Nice job 👏👏
ReplyDeleteNot in the PVC, but algae does build up in the tubing running from the bucket to the PVC. I believe if it was covered or painted black so light couldn't get through, then the algae wouldn't grow. Usually it doesn't build up too much in one season and then I clean it at the end of the season.
DeleteThanks so much for your fast response!! That makes perfect sense...Thanks again! Have a great day!
Delete